
Home Insurance Claim Checklist After a Disaster
After a fire, storm, water loss, theft or other property disaster, the amount of paperwork can become overwhelming. This guide explains how to document damage, preserve evidence, organize your home insurance claim, track temporary living expenses, manage contractors and reconcile payments from the first hours through final recovery.
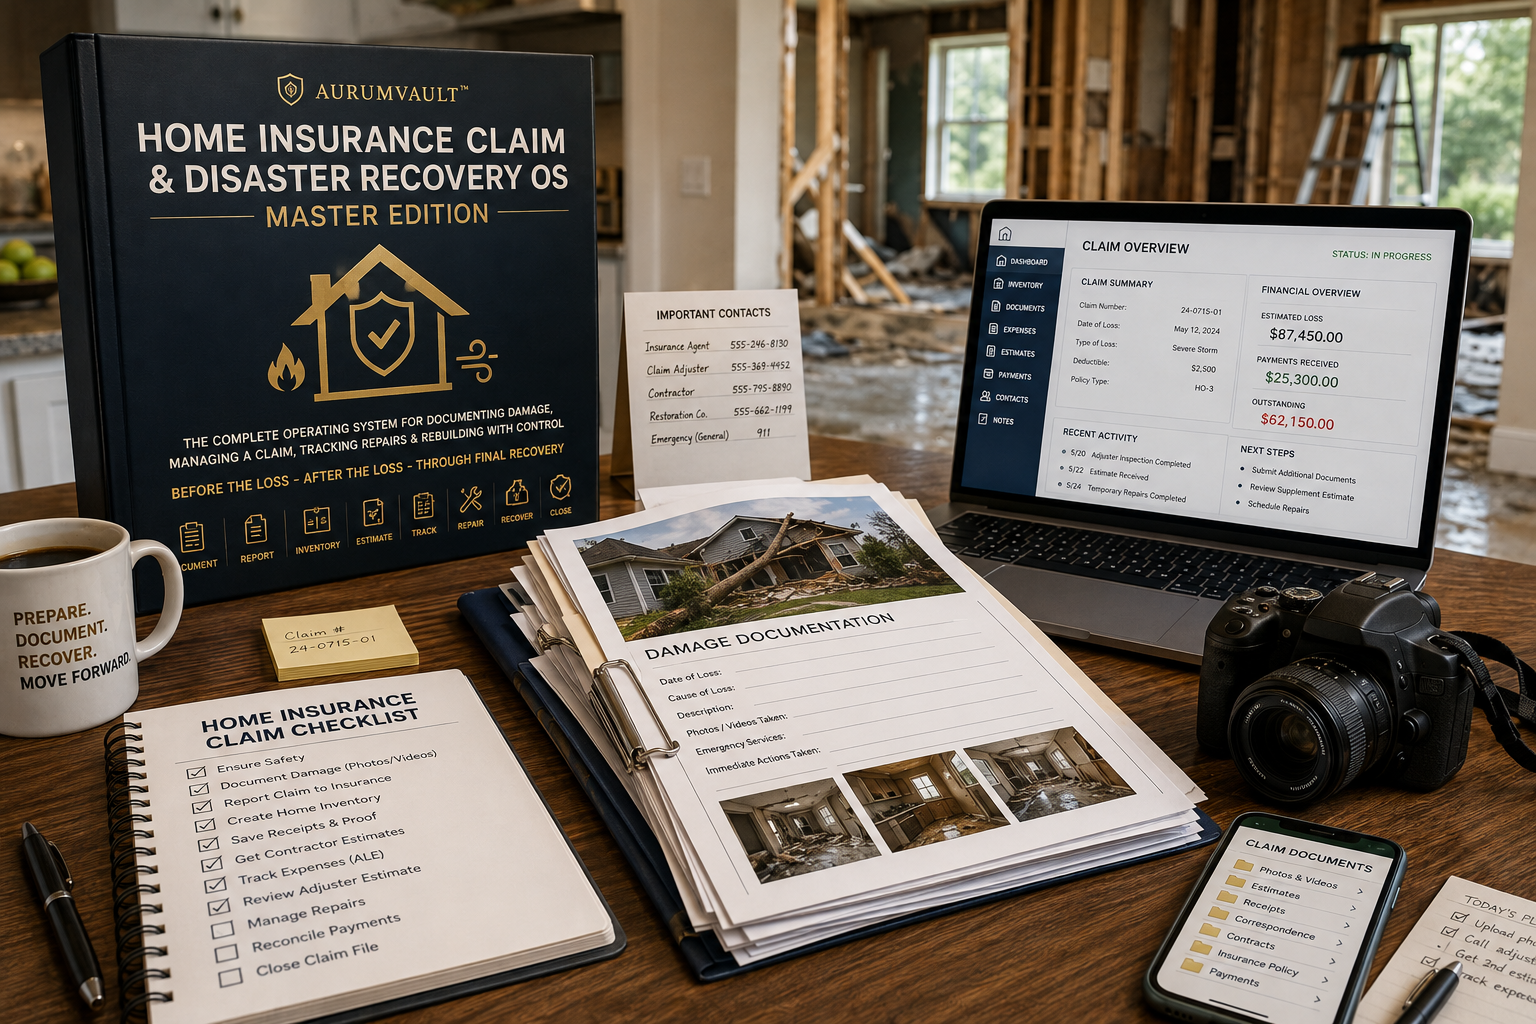
Home Insurance Claim Checklist: What to Do After a Disaster
A damaged home can create two emergencies at the same time.
The first is obvious: protecting your family and property.
The second begins almost immediately afterward: documenting what happened well enough to manage an insurance claim, temporary expenses, contractors, repairs and financial recovery.
After a fire, storm, water loss, theft or other property disaster, homeowners can quickly accumulate:
- Photographs and videos
- Insurance documents
- Claim numbers
- Adjuster communications
- Contractor estimates
- Receipts
- Temporary housing expenses
- Repair invoices
- Personal-property inventories
- Claim payments
- Reimbursement records
Without a system, important information can become scattered across text messages, email, folders, receipts and phone notes.
That is why a home insurance claim checklist should cover the entire recovery process—not simply the first phone call to the insurer.
The Complete Home Insurance Claim Workflow
A practical property-loss workflow can be organized into ten stages:
1. Prepare
2. Secure
3. Document
4. Notify
5. Inventory
6. Estimate
7. Track
8. Repair
9. Reconcile
10. Close
The Home Insurance Claim & Disaster Recovery OS™ uses this same operating sequence to help households maintain control from before the loss through final recovery. 1
Step 1: Put Safety First
Before thinking about insurance paperwork, address immediate safety.
Depending on the event, that may involve:
- Leaving an unsafe structure
- Contacting emergency services
- Avoiding electrical hazards
- Avoiding unstable structures
- Shutting off utilities when appropriate and safe
- Restricting access to hazardous areas
Do not enter an unsafe building simply to obtain photographs or belongings.
The insurance documentation process should begin only when it is safe to do so.
Step 2: Create an Incident Record
As soon as practical, write down the basic facts of what happened.
Record:
- Date
- Time
- Location
- Event or condition
- People contacted
- Actions taken
- Safety issues
- Evidence available
- Next immediate action
Memory can become less precise during a stressful recovery process.
A written incident timeline helps preserve what you knew and when you knew it.
Step 3: Photograph and Video the Damage
One of the most important early actions is creating a visual record.
Photograph or record video of:
- Exterior damage
- Interior rooms
- Structural damage
- Water lines
- Fire or smoke damage
- Roof damage
- Broken windows
- Damaged furniture
- Electronics
- Appliances
- Clothing
- Personal belongings
- Detached structures
- Outdoor property
Whenever possible, capture both wide views and close-up detail.
Do not discard damaged items prematurely unless safety requires removal or your insurer instructs you appropriately.
Step 4: Preserve Evidence Before Cleanup Changes the Scene
Cleanup and emergency repairs may be necessary.
But before conditions change, preserve evidence when safely possible.
Useful documentation may include:
- Photos
- Videos
- Receipts
- Serial numbers
- Product labels
- Ownership records
- Purchase records
- Contractor reports
- Emergency-service records
- Weather information
- Witness information
The goal is to preserve a reliable record of the loss.
Step 5: Review Your Insurance Policy
Before assuming something is covered or excluded, review the actual policy documents.
Identify information such as:
- Policy number
- Coverage limits
- Deductible
- Policy term
- Dwelling coverage
- Other structures coverage
- Personal property coverage
- Additional living expense coverage
- Endorsements
- Scheduled valuables
- Separate policies
- Exclusions
The OS specifically includes separate review areas for dwelling, other structures, personal property, additional living expenses, endorsements, flood insurance and earthquake coverage so uncertain coverage questions can be identified instead of guessed. 2
Step 6: Notify the Insurance Company
Report the loss according to your insurer's required process.
Record:
- Date reported
- Claim number
- Insurance company
- Agent
- Adjuster
- Telephone number
- Instructions provided
- Requested documents
- Deadlines
Keep a record of important conversations.
After phone calls, consider documenting the date, person spoken with and major points discussed.
Step 7: Build a Room-by-Room Home Inventory
A damaged-property claim can become difficult when you are trying to remember everything that was inside a home after the fact.
Work room by room.
For each item, record information such as:
- Room
- Item
- Description
- Pre-loss condition
- Ownership evidence
- Approximate value or source
- Damage or loss
- Missing proof
- Next documentation action
The OS includes dedicated inventories for room-by-room property, high-value items, electronics and appliances, furniture and household goods, jewelry and collectibles, and garage or outdoor property. 3
Step 8: Locate Receipts and Ownership Evidence
Receipts are useful, but they are not necessarily the only form of evidence you may possess.
Look for:
- Purchase receipts
- Credit-card records
- Bank statements
- Order confirmations
- Product registrations
- Serial numbers
- Photographs taken before the loss
- Videos
- Manuals
- Warranty records
- Appraisals
Create one central proof vault rather than leaving evidence scattered across different devices and accounts.
Step 9: Document Emergency and Temporary Repairs
You may need temporary work to prevent additional damage.
Examples can include:
- Tarping
- Board-up services
- Water extraction
- Drying
- Temporary fencing
- Emergency plumbing
- Temporary electrical work
Document:
- Why the work was necessary
- Contractor
- Date
- Work performed
- Photos before and after
- Invoice
- Payment
Keep records before permanent repairs begin.
Step 10: Track Every Contractor and Estimate
Repair estimates can differ substantially.
For each contractor or vendor, record:
- Company
- Contact
- Inspection date
- Area inspected
- Observed damage
- Proposed scope
- Estimate
- Requirements
- Missing items
- Disagreements
- Next action
The OS includes a dedicated Scope of Damage Comparison so observed damage, estimates, missing items and disagreements can be tracked side by side. 4
Step 11: Compare the Adjuster's Estimate With Contractor Estimates
Do not look only at the total dollar amount.
Compare the actual scope of work.
Look for differences involving:
- Materials
- Quantities
- Labor
- Demolition
- Drying
- Electrical work
- Plumbing
- Roofing
- Flooring
- Cabinetry
- Painting
- Debris removal
- Permits
A lower estimate may simply contain fewer repair items.
Step 12: Track Permits and Inspections
Some repairs or rebuilding work may require permits or inspections.
Record:
- Requirement
- Responsible party
- Application status
- Fees
- Inspection dates
- Approvals
- Open issues
The OS includes a Permit Requirement Tracker specifically for documenting requirements, missing items, risk and next repair actions. 5
Step 13: Maintain a Progress Photo Log
Continue documenting the property while repairs occur.
Photograph:
- Demolition
- Hidden damage discovered
- Structural repairs
- Drywall
- Electrical work
- Plumbing
- Roofing
- Flooring
- Cabinet installation
- Final finishes
The OS includes a Progress Photo Log so repair evidence continues after the initial loss documentation. 6
Step 14: Track Additional Living Expenses
If you cannot live in your home after a covered loss, temporary expenses can become a major part of the recovery process.
Potential expenses may include:
- Hotel
- Temporary rental
- Additional food costs
- Laundry
- Parking
- Pet boarding
- Storage
- Transportation
- Other increased living expenses
Keep receipts and maintain a running record of:
- Expense
- Date
- Amount
- Amount submitted
- Amount reimbursed
- Outstanding amount
- Issue or variance
The OS includes a dedicated Additional Living Expense Command for tracking incurred, submitted, paid and outstanding expenses. 7
Step 15: Track Claim Payments Separately From Expenses
Do not assume receiving money means the claim is fully reconciled.
Maintain a payment ledger showing:
- Payment date
- Amount
- Coverage category
- Explanation
- Deductible
- Holdback
- Recoverable depreciation
- Reimbursement
- Outstanding balance
Keeping payments separate from repair invoices and household expenses makes reconciliation easier.
Step 16: Understand Replacement-Cost Holdbacks
Some claims may involve depreciation or other amounts that are not paid immediately, depending on the policy and circumstances.
If your claim contains a replacement-cost holdback, track:
- Amount
- Related property or repair
- Documentation required
- Amount incurred
- Amount submitted
- Amount released
- Outstanding amount
- Deadline or next action
The OS includes a Replacement Cost Holdback Tracker specifically for this financial-recovery stage. 8
Step 17: Maintain a Claim Communication Log
A property claim can involve numerous people:
- Insurance agent
- Adjuster
- Contractor
- Restoration company
- Mortgage company
- Temporary housing provider
- Engineer
- Inspector
- Other specialists
Keep a communication record containing:
- Date
- Person
- Organization
- Method
- Subject
- Important information
- Promised action
- Follow-up date
This prevents important commitments from disappearing into old calls and emails.
Step 18: Track Contractor Payments
Contractor payment records should remain connected to repair progress.
Document:
- Contractor
- Invoice
- Amount
- Payment date
- Work completed
- Outstanding amount
- Related claim payment
- Dispute or variance
The OS includes a specific Contractor Payment Record for tracking amounts paid, incurred, submitted and outstanding. 9
Step 19: Flag Disagreements Instead of Losing Them
A complicated claim may contain unresolved issues involving:
- Damage scope
- Pricing
- Coverage
- Personal-property valuation
- Repair method
- Additional living expenses
- Depreciation
- Reimbursements
Create an unresolved-issues register.
For each issue, document:
- What is disputed
- Evidence available
- Person responsible
- Next action
- Deadline
- Current status
Do not allow unresolved matters to disappear simply because other parts of the claim are progressing.
Step 20: Reconcile the Entire Claim Before Closing
Before considering the recovery complete, compare:
- Documented damage
- Property inventory
- Estimates
- Repair invoices
- Additional living expenses
- Insurance payments
- Contractor payments
- Depreciation or holdbacks
- Outstanding reimbursements
A claim can appear nearly finished while money or documentation remains unresolved.
The Final Home Insurance Claim Completion Checklist
Before closing your recovery records, verify that:
- Safety and incident records are complete
- Insurance contacts are documented
- Policy and coverage documents are organized
- Damage photos and videos are indexed
- Structural damage is documented
- Personal-property inventory is completed
- Receipts and ownership proof are organized
- Adjuster records are complete
- Estimates and contractor bids are organized
- Temporary repairs are documented
- Permanent repairs are tracked
- Additional living expenses are reconciled
- Claim payments are reconciled
- Recoverable depreciation or holdbacks are reviewed
- Outstanding reimbursements are reviewed
- Coverage questions are resolved or escalated
- Final repair evidence is preserved
- Final payment or settlement documents are saved
- Post-loss inventory is rebuilt
- Future coverage and resilience are reviewed
These are core elements of the OS's Final Claim & Recovery Completion Audit. 10
Prepare Before Disaster Strikes
The best time to begin documenting your home is before something happens.
Consider creating:
- Home inventory
- Property photographs
- Video walkthrough
- Valuable-item list
- Serial-number record
- Receipt archive
- Insurance-policy snapshot
- Emergency contact directory
- Contractor and utility directory
The Home Insurance Claim & Disaster Recovery OS™ includes a complete pre-disaster readiness section for exactly this reason.
Preparation can make the documentation process significantly easier after a loss.
Record What You Know and Flag What You Do Not
A strong claim record should distinguish between:
- Documented or verified information
- Pending information
- Missing information
- Items requiring review
The OS repeatedly applies this principle throughout its worksheets: record what is known, identify the evidence source and flag uncertainty rather than guessing. 11
That discipline is especially useful when dealing with policy terms, estimates and financial calculations.
Build One Recovery Record From Loss to Closure
A home insurance claim can take weeks, months or even longer to fully resolve.
The objective is to create one organized recovery history that answers:
What happened?
What was damaged?
What evidence exists?
What did the policy documents say?
What was estimated?
What was repaired?
What was paid?
What remains unresolved?
That is exactly what the Home Insurance Claim & Disaster Recovery OS™ — Master Edition is designed to help households organize.
The system covers the entire process:
DOCUMENT → REPORT → INVENTORY → ESTIMATE → TRACK → REPAIR → RECOVER → CLOSE.
It is designed to help households prepare before disaster, document an incident, organize a homeowners or renters claim, track additional living expenses, manage adjuster and contractor records, reconcile claim payments and preserve a clear recovery history. 12
Because when damage happens, documentation matters.
Important notice: This article and the Home Insurance Claim & Disaster Recovery OS™ provide organizational and educational guidance only. They do not determine insurance coverage and are not legal, insurance, tax, engineering or public-adjusting advice. Coverage, deadlines, claim procedures and legal rights vary by policy and jurisdiction. 13
Enjoying the Academy?
Join AurumVault Insider for new practical guides, digital tools, and marketplace releases.
No spam. Unsubscribe anytime. Privacy
By subscribing, you agree to receive AurumVault Insider emails. You can unsubscribe at any time.
Continue your journey
Keep reading
EU Packaging Compliance 2026: PPWR Checklist for Small Brands and Ecommerce
EU packaging compliance can involve far more than choosing recyclable packaging. Small brands selling into European markets may need to understand their economic role, map packaging components, collect supplier evidence, document material data, review recyclability and labeling, track country-level EPR actions and maintain technical records. This guide provides an evidence-first framework for organizing that work.
AI Governance for Small Business: The Complete 2026 Checklist
Small businesses are adopting AI faster than many are creating rules for it. This practical 2026 checklist shows business owners how to inventory AI tools, protect sensitive information, define employee and AI-agent authority, require human approval for consequential actions, evaluate vendors, document incidents and create a manageable AI governance system.
AI Governance in Banking: A Practical Operations Framework
Banking AI governance should go beyond documenting models. This practical framework shows how financial institutions can inventory AI use, classify customer and financial impact, establish authority limits, validate material systems, preserve transaction-level evidence and review complaints, incidents and controls.